

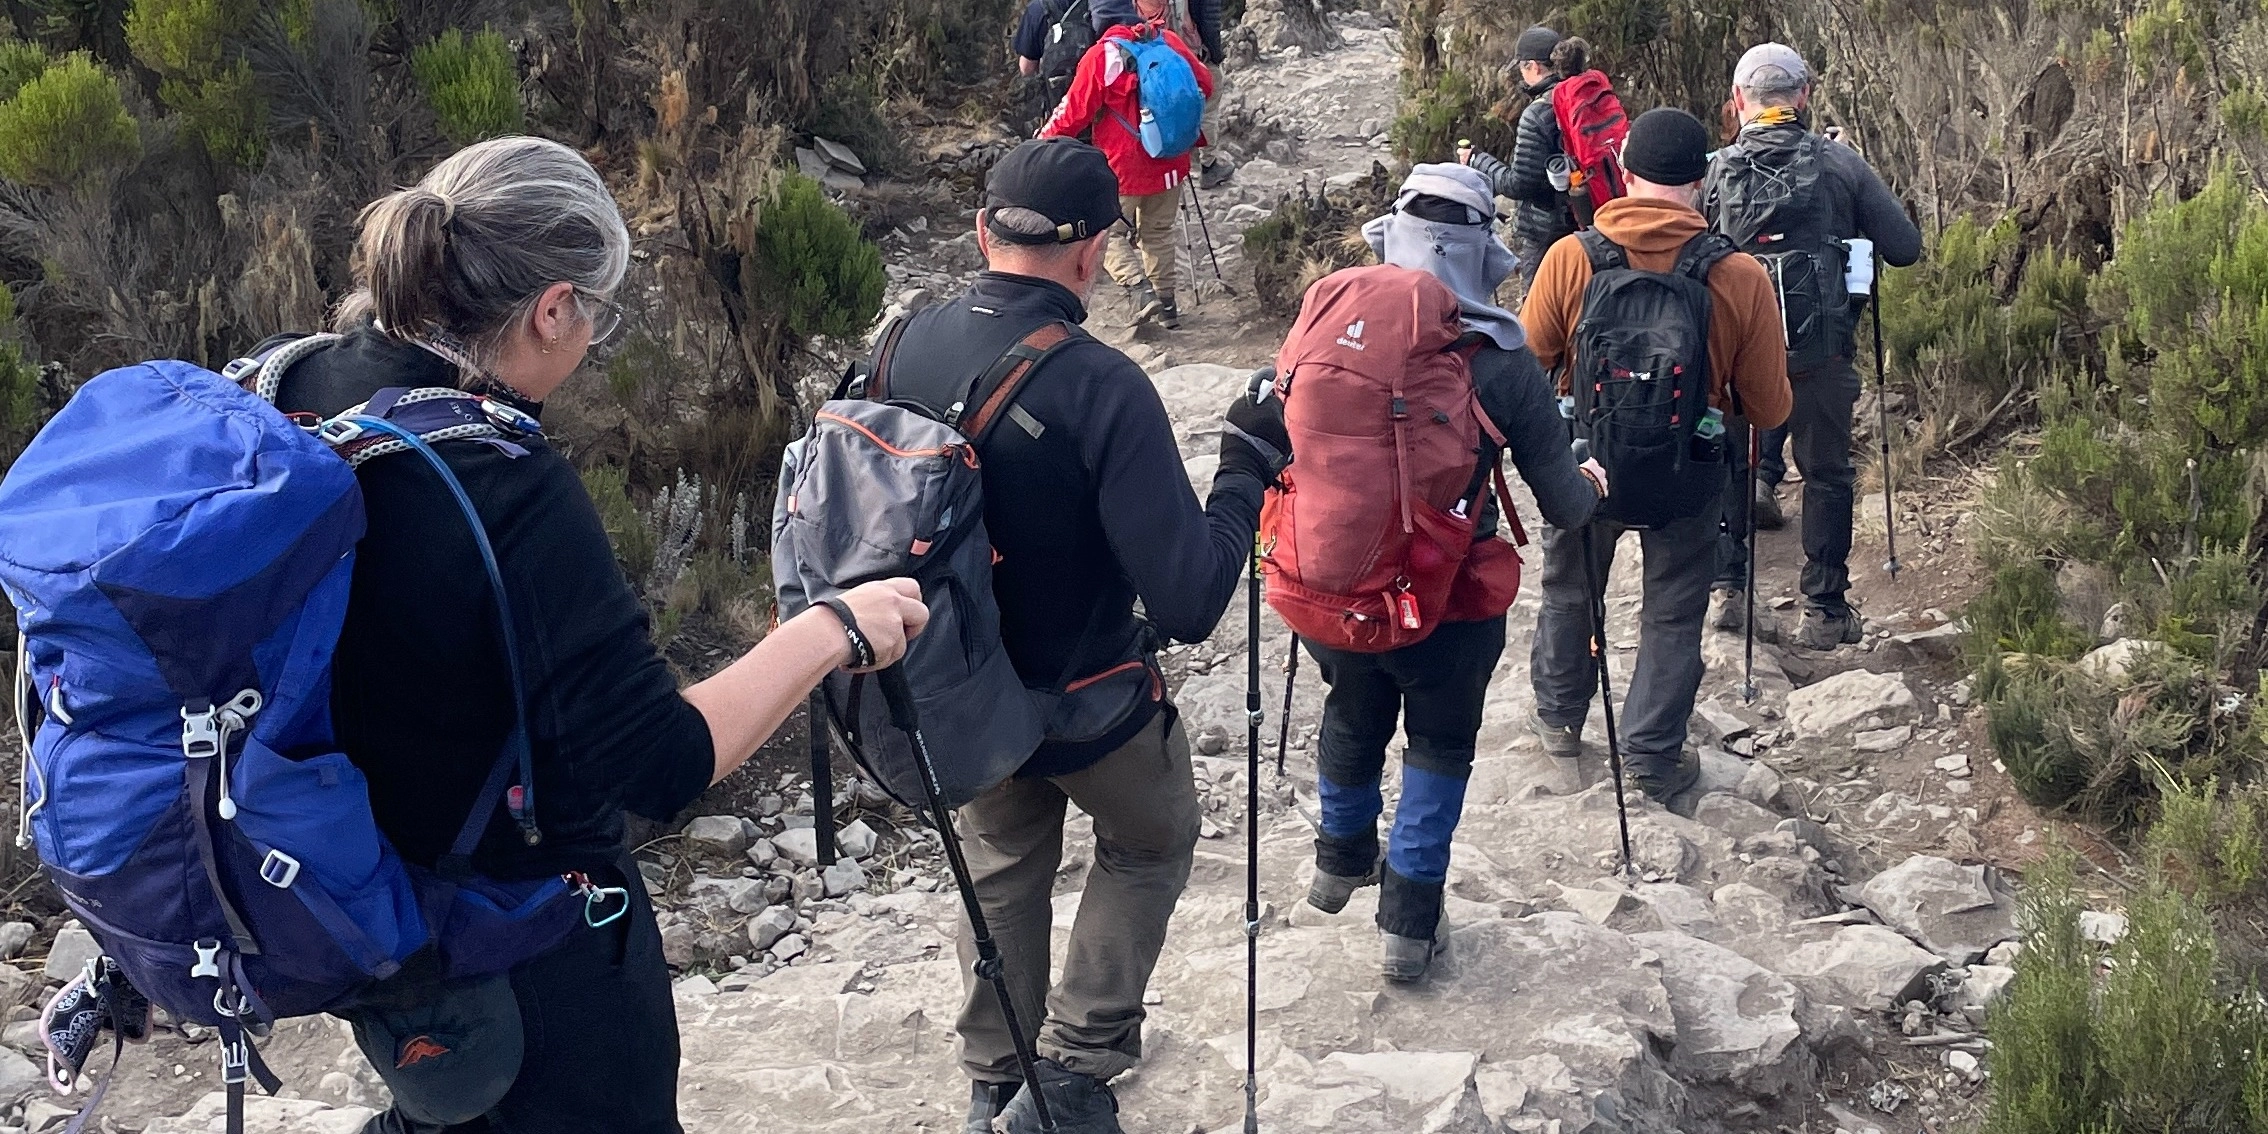
Here’s a scenario for you. You’re halfway up a steep climb on a trail somewhere, maybe in the Blue Mountains or the Grampians. Your legs are burning, and the person next to you seems to be gliding along with two poles in hand like they know something you don’t. Turns out, they do know something you don’t!
Hiking poles are one of those pieces of gear that beginners often overlook or dismiss as unnecessary, but the research tells a different story. Using poles can reduce the force on your knees during descents by up to 25%, take roughly 20% of the load off your legs as you climb, and give you extra points of contact on the kind of unpredictable terrain that Australian trails are famous for.
In this blog, you’ll learn how to size and grip your poles correctly, how to use them while you walk, and which types of trail are best suited to hiking with poles. If you’re dealing with dodgy knees, tackling your first serious climb with difficult terrain, or just trying to hike smarter, this is the practical starting point you need before your next adventure.
It’s time to start taking hiking poles seriously
If your knees have ever ached on a long descent, you have good reason to reconsider hiking poles. Research shows they reduce compressive force on the knee joint by up to 25% on downhill terrain, which may allow you to walk further comfortably or, at the very least, enjoy your experience more. Nothing spoils a good view quite like knee pain.
The evidence for when you’re climbing uphill is equally convincing. Poles reduce leg load on ascents by approximately 20%, redistributing effort across your upper body. You’ll feel the difference in your legs at the end of a long day, which is great for tackling multi-day hikes and being on your feet for several days in a row.
On climbs, poles also encourage a more upright posture. When you’re not hunched over your knees, your lungs expand more freely and your lower back carries less strain. This small adjustment has a noticeable effect over several hours on trail.
Protecting your joints on one hike means fresher legs for the next, fewer niggles accumulating over time, and more years doing the thing you love.
But do I really need hiking poles?
Which hikers get the most out of hiking poles? There are benefits for everyone, but some hikers will notice the difference far more than others.
Hikers with existing joint issues are the clearest candidates. If your knees, hips, or ankles already give you grief, poles redistribute load away from those joints by recruiting more of your upper body. That reduction in compressive force becomes especially meaningful over longer distances, where cumulative strain adds up fast.
Beginners on their first multi-day trip or steep terrain come in next. Fatigue affects your footing in ways that are hard to predict, especially when backing up multiple days of walking. Two extra points of contact give you more margin for error when your legs are tired and the trail is unfamiliar.
Solo hikers, including solo female travellers, benefit from both the physical stability and the confidence poles provide on remote or technical trails. Feeling secure on uneven ground changes how you move and the decisions you make out there.
Hikers carrying heavier packs will also notice pole benefits earlier. Research confirms that joint load reduction holds regardless of pack weight, so the heavier your load, the more you may want to consider poles.
Intermediate hikers extending their range are often the group that overlooks poles longest. They’re already familiar and confident with hiking, so they think, “Surely I don’t need them”. But if you’re pushing into steeper or longer terrain, poles help manage repetitive strain before it becomes an injury that sidelines you for weeks.
That said, if you’re an experienced hiker on flat, well-formed tracks, poles may simply get in the way. The rest of this guide will help you work out when to reach for them and when to leave them strapped to your pack.
Set up your poles to fit you
Once you’ve worked out if poles are right for you, getting the setup right takes about two minutes and makes a difference on trail.
Start with the 90-degree rule. Stand on flat ground, plant the pole tip beside your foot, and adjust until your elbow sits at roughly a right angle. This is considered your neutral position.
Adjust for terrain as you go:
- Uphill: Shorten each pole by 5–10 cm to maintain an efficient elbow angle without forcing your shoulders up.
- Downhill: Lengthen by 5–10 cm to plant ahead of each step and absorb impact through the pole rather than your knees.
Know your locking mechanism. Most poles use either a twist-lock (rotate the pole to tighten) or a lever-lock (a clip that snaps into place). Lever-locks are easier to adjust with cold or gloved hands, which matters on alpine Victoria trails. Always check the lock is fully secure before putting weight through the pole, because a pole collapsing down when you have your body weight over it puts you at a high chance of taking a fall.
When it comes to materials, aluminium poles are the practical choice for most Australian day hikers. They’re affordable, tough, and handle rocky surfaces well. Carbon fibre is lighter but can snap rather than bend on impact, making it a riskier option on hikes near Melbourne that are rockier or steeper, such as Lerderderg Gorge, some sections of the Dandenongs, or the Victorian Alpine Region.
Position your hands and get a grip!
Once your poles are sized and locked in, it’s time to think about how to hold them. You’ll be holding them for hours on end, after all; you want to be comfortable.
Start with the wrist strap. Most beginners grab the handle and ignore the strap entirely. Instead, slide your hand up through the strap from below, then close your grip around the handle. The strap cradles your palm and takes the load off your grip every time you put the pole on the ground. Your fingers guide the pole rather than holding on to it for dear life, which can help reduce knuckle, wrist and forearm aches.
Match your grip pressure to the terrain. On flat trail, let your fingers relax and allow the strap to do the work. Your grip can firm up when things get technical, but it shouldn’t stay tense throughout.
Adjust your hand position on descents. Slide your hand higher on the handle or just above the strap. This shortens your effective reach slightly, keeps the pole profile lower, and gives you better control when slowing your descent.
On trails that slope to the side, the uphill pole often ends up too long for the angle. Drop your grip lower on the uphill handle to effectively shorten it without stopping to readjust. Vice versa for the downhill pole. Move your hand slightly higher on the pole to “lengthen” it slightly.
The single most common mistake is strongly gripping both poles for the entire walk. Novice users already expend more energy with poles than experienced ones, so don’t exaggerate this by gripping too hard for too long. A tense, locked grip drives forearm fatigue and negates the efficiency poles are designed to deliver.
We’re fitted and gripped, now it’s time to walk
The foundational technique most beginners miss is the opposite-arm swing. Plant your right pole as your left foot steps forward, and your left pole as your right foot steps forward. This mirrors your natural walking rhythm and keeps your movement fluid rather than awkward and stilted.
On flat ground, keep contact light. Poles should gently propel you forward as an extension of your arm swing, not bear your weight. Think of them touching down softly rather than driving into the ground.
On uphills, plant both poles slightly ahead of you at the same time and push through as you step. This shares the load between your arms and legs, reducing uphill leg effort by around 20%.
On downhills, this is where technique really pays off. Plant your poles ahead and slightly wide of your body before each step, creating a stable tripod. Commit your weight only once you have that three-point contact. Done consistently, this is how poles deliver their 25% reduction in compressive knee force on descents.
On stream crossings and muddy sections, probe the ground with a pole tip before stepping. On Victorian alpine trails after rain, surfaces that look solid often aren’t. A quick prod confirms depth and stability before you place your boot on the ground.
Match your poles to the trail
Knowing how to use poles is great, but knowing when conditions demand them is what makes poles an indispensable item in your pack.
Scree slopes and loose rock provide conditions where pole usage, for some, is vital. In places like Victoria’s Lerderderg Gorge, loose rocks shift without warning. Plant a pole, test the surface, then commit your weight. A quick check like can be the difference between a stumble and a safe step.
Muddy fire trails are extremely common on many Victorian walks; think places like the Dandenongs. Clay surfaces after rain are slippery, and poles solidify each step rather than letting your foot slide out from under you. If you’re planning hikes around a rainy day, bring them.
Narrow ridgeline tracks with exposure are not places you want to be second-guessing your balance. Poles widen your effective base and can absorb a wobble before it becomes a fall. On any track where a misstep has consequences, such as some of the trails in the Cathedral Ranges, two extra contact points can be helpful.
Well-formed, flat tracks are a different story. On easier sections, like gentler stretches of the Great Ocean Walk, poles can feel more cumbersome than helpful. Collapse them, clip them to your pack, and save your arms.
Creek and river crossings are where solo hikers especially should not skip poles. Probe the riverbed before stepping to gauge the depth of the water, keep your feet wide for stability in flowing water, and move one step at a time.
Overgrown or scrubby trails show off another talent of hiking poles. On these kinds of trails, use your poles to push vegetation aside and probe for hidden logs, rocks or holes hidden beneath the growth. This is especially helpful in Autumn, when there is leaf cover all over the ground that can conceal hazards.
Unexpected bonuses of hiking poles
Save weight on tents. Many trekking poles are engineered to double as tent poles for ultralight shelters. On a multi-day trip, that substitution can shave over 200 grams from your pack without sacrificing a comfortable night’s sleep. It’s one of the most practical weight-saving moves available to hikers heading on longer trips.
Steadier shots without extra gear. Plant a pole firmly (even stuck slightly into the ground), brace your camera against the handle, and you have a surprisingly effective monopod. You don’t need to pack a fancy tripod or selfie stick, and you’ll end up with sharper photos by avoiding hand-held shots when you’re fatigued from a day of hiking.
Emergency improvisation. In remote Australian bush, well away from assistance, poles can serve as improvised splints for a lower limb injury. It’s not a situation anyone expects to happen, but carrying poles means having that option as a backup in case the worst happens.
Confidence on exposed ground. Having two extra contact points changes the way hikers move on narrow ridgelines and steep sections. People take more deliberate steps, commit more calmly to tricky footing, and generally move better. The psychological confidence goes a long way in keeping hikers safe.
When to put your poles away
On short, flat walks with minimal elevation change, poles often add more unnecessary complexity than benefit. If you’re strolling an even coastal boardwalk or an easy park circuit with stable footing, your body simply does not need the extra support.
Some terrain actively discourages poles. Scrambling sections, via ferrata routes (harnessed trails like the one on Mount Buller), and technical rock climbing require both hands free for grip and movement. In those situations, poles become hazardous, getting in the way of moves that require full manual contact with the rock.
Heat is worth factoring in. On exposed summer walks, particularly some of Australia’s coastal routes where there is little shade and plenty of sun, carrying poles adds load and arm movement that generates extra body heat. When the benefit is minimal, the added heat expenditure isn’t worth it.
Some hikers simply find poles disruptive on easy terrain. If they’re breaking your stride and disrupting the cadence rather than supporting it on a gentle track, leave them packed.
The good news is that collapsible poles largely resolve this dilemma. Stow them against your pack on easy or hands-on sections, then get them back out when the terrain changes. If you are planning a trip where terrain shifts constantly between ascents, descents, easy and technical sections, that flexibility is what makes collapsible poles such a practical choice for varied terrain.
Now, time to practice on the trail
Now you know everything there is to know about poles, grasshopper. Remember that just carrying them in your hands won’t do much. But grip them correctly, set them to the right height, and plant them with intention, and you’ll feel the difference in your joints, your posture, and your energy levels by the end of the day. Beyond individual hikes, protecting your joints over time means faster recovery, fewer sore days, and more time on the trail.
If you’re new to poles, don’t wait for a big multi-day extravaganza to experiment. Give them a go on your next moderate day hike, somewhere with a bit of elevation and varied ground underfoot. This is where the learning happens and mistakes can be made with little consequences.
If you want a useful environment to practise, some of Take Shape Adventures’ guided Victorian day hikes and multi-day trips take you through terrain where poles show off their benefits, with a supportive group around you while you find your rhythm.
Every experienced hiker was once figuring out these tips, so don’t hesitate to get out on the trail and give it a go. Your knees will thank you.